

Payment Portal Setup
Use this window to generate the Payment Portal URL and setup Message-to-Pay.
In eServices Setup, click Payment Portal.
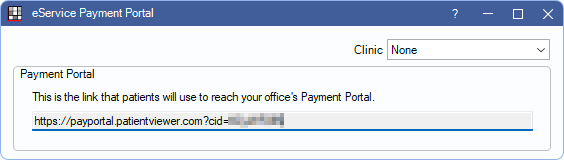
Clinic: Select the clinic to generate the Payment Portal URL for. When selected, the URL updates. If a patient accesses the wrong clinic's URL, the Payment Portal automatically switches to the correct clinic (assigned to the patient) after patient information is entered. This clinic dropdown does not affect Message-to-Pay templates.
Payment Portal
Copy the URL to provide Payment Portal access. This link can be embedded on the office website or sent via email.

Message-to-Pay Template
Message-to-Pay allows the office to quickly text or email a patient a link to the Payment Portal. Messages are sent from the Account Module, Payment dropdown.
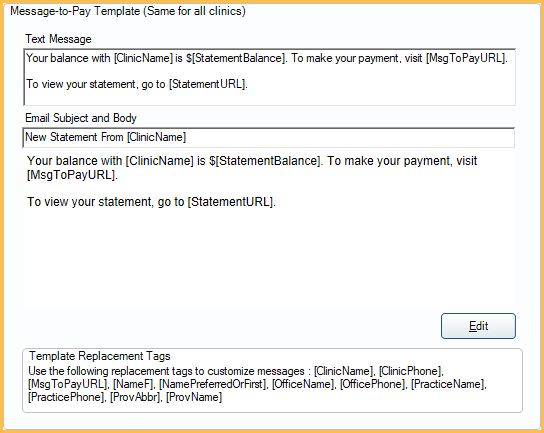
Text Message: Customize the default text message template.
Email Subject and Body: Customize the default email message template. Click Edit to open HTML Email for additional customization.
Enable Payment Portal Payments
Payment Portal is available for payment processors integrated in Open Dental.
Before using the Payment Portal, enable Online Payments in the Program Link for the credit card processor being used:
- XCharge Setup: Enable X-Web for Payment Portal payments
- PayConnect Setup: Payment Portal Payments, Enabled
- EdgeExpress Setup: Enable payments for Payment Portal and eClipboard
- PaySimple Setup: Allow online payments
Provide Patient Access
Once Online Payments are enabled, patients can be provided access to the Payment Portal.
There are two options to provide patients access to the Payment Portal:
- Payment Portal URL: Copy the Payment Portal URL to send to patients to make online payments. To place the link on the office website, contact the office webmaster. Offices using PaySimple must use this option.
- Patient Portal: Patients can access the Payment Portal through a link in the Patient Portal.
- In eServices Signup, More Settings tab, enable Make Payments as a portal feature.
- Provide patients Patient Portal Access.
- Provide a link to access Patient Portal.
- On the practice website, provide a link to the Hosted Payment URL or Hosted URL. Generate a URL from the eServices Patient Portal window.
- On statements, add the [statementURL] or [statementShortURL] output text field. See Statement Layout. These URLs launch the Patient Portal Sign in window where patients can log in to view an online version of the statement or make a payment.
- When generating statements from the Billing List, also trigger text messages that include a clickable URL to the Patient Portal Sign in window. Include the [StatementURL] or [StatementShortURL] variable in the text message to insert the clickable link (Billing Defaults). Only statements with modes that match selected Sent text messages to these modes (Billing) will receive a text message, as long as the patient is eligible to receive text messages. Integrated Texting Feature must be enabled.