

Medical History Layout
Medical History forms can be customized to meet the needs of the practice.
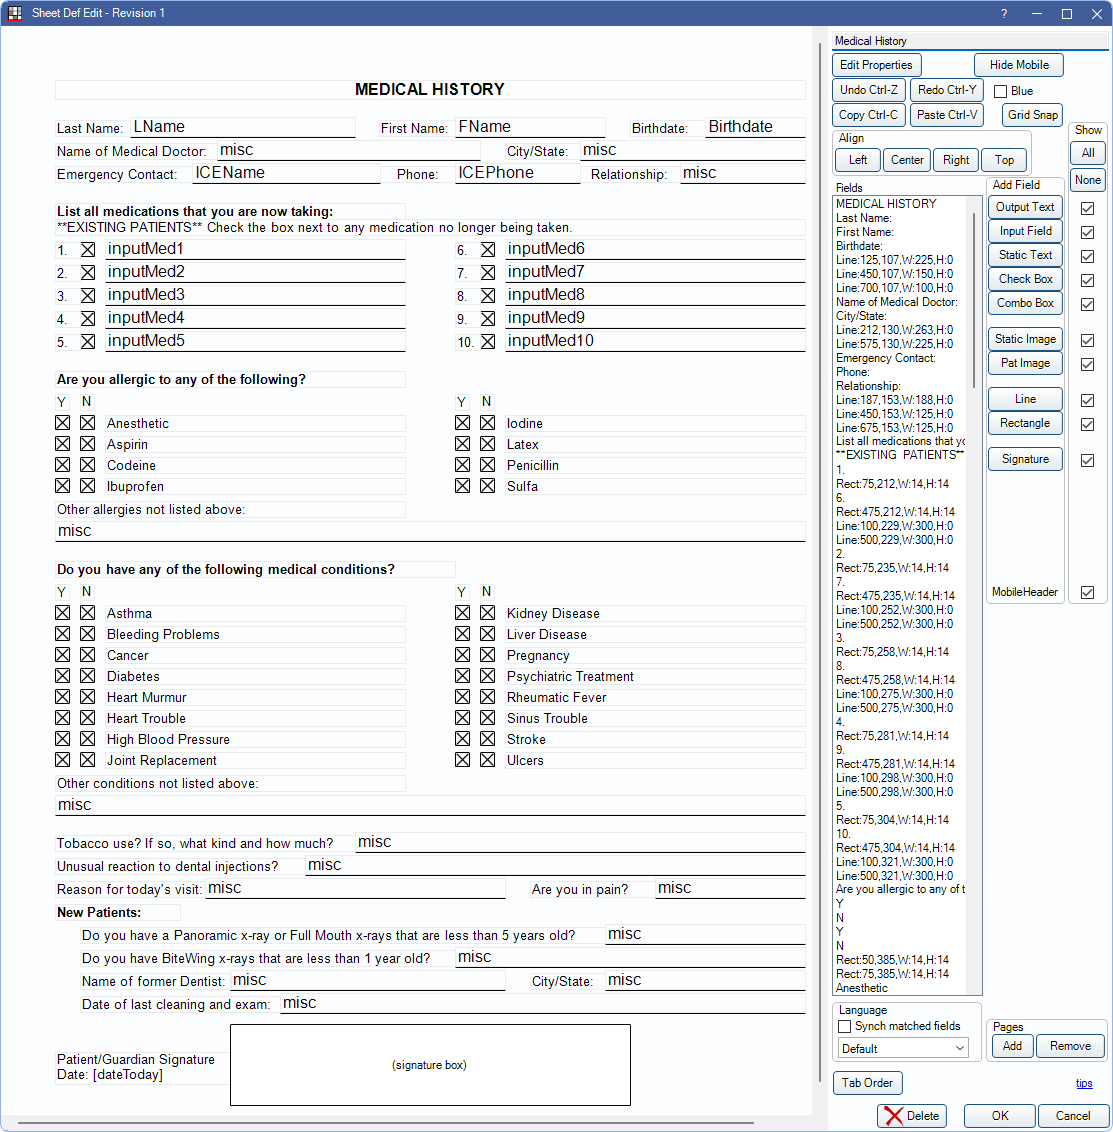
In Sheets, double-click on a custom sheet with the type of MedicalHistory.
Alternatively, in Sheets:
- Click New and choose MedicalHistory as the Sheet Type to create a new Medical History form from blank.
- Select an existing Custom MedicalHistory sheet and click Duplicate to create a copy of an existing Medical History form.
- Select the existing Internal MedicalHistory sheet and click Copy to create a copy of a default Medical History sheet that can be edited.
Patients can fill out Medical History forms on a computer (e.g., in an operatory), via a Kiosk, eClipboard, or online using an internet browser (see Web Forms Feature). If Input Fields are set up on the Medical History, entered data can be imported into the database.
 See our Webinar: Medical History Form
- Patient Forms
- Import Patient Forms and Medical Histories
Before use, review internal sheets carefully and customize for the practice. The Medical History sheet uses special input and checkbox fields for medications, allergies, and problems. The internal sheet is only an example and may contain allergies and problems that do not exist in the Open Dental master lists.
It is important that the master Medications List, Allergy List, and Problem List do not contain duplicates. Each input field and checkbox on a Medical History sheet corresponds to a specific item in the master list. When importing, spelling is compared to find matches. If exact matches are not found, import will not work properly. For example, if the allergy on the Medical History is attached to 'Penicillin', but the patient's medication list contains Pen, the allergies will not match and the import will not work.
Medication, problem, and allergy input fields and checkboxes require special setup. See below for additional information. For general information on customizing the Medical History sheet, see the following pages:
Medications
Input fields and checkboxes fields can be used independently or together for medications.

Patients enter medication names in Input Fields (inputMed##). Up to twenty inputMed fields are allowed on a sheet. Each inputMed# can be only used once on a single sheet. Also see Sheet Input Field.
- For new medications: Patients can type any new medications into the input field.
- For medication updates: If a patient's medication list contains a medication that matches an inputMed# field value, the field automatically populates with the current medication.
To add an input field:
- On the Edit Sheet Def window, click Input Field.
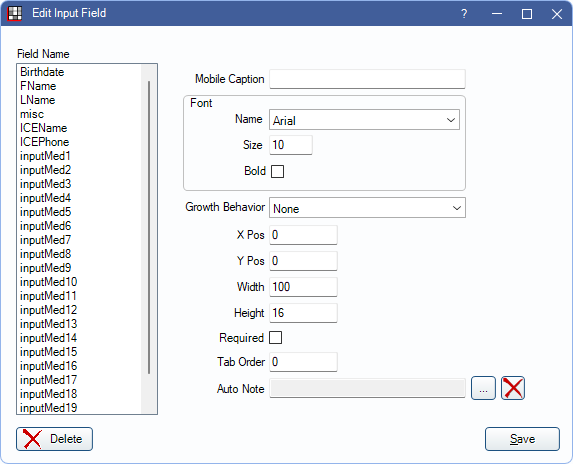
- Select an inputMed# field that is not currently in use, then enter its properties.
- If utilizing the mobile layout, enter a Mobile Caption. This is required.
- Click Save. Each inputMed field can only be used once on a sheet.
CheckMed Fields
CheckMed checkboxes can be used with Input Fields as No indicators. This is useful for Medical History Updates so a patient can indicate if they are no longer taking a medication. Since current medications automatically populate the input field, patients just need to indicate if they are no longer taking the med. See Sheet Checkbox and Radio Button.
Ensure the Static Text instructs the patient that the checkboxes indicate No.
To add a CheckMed checkbox:
- On the Edit Sheet Def window, click Check Box.
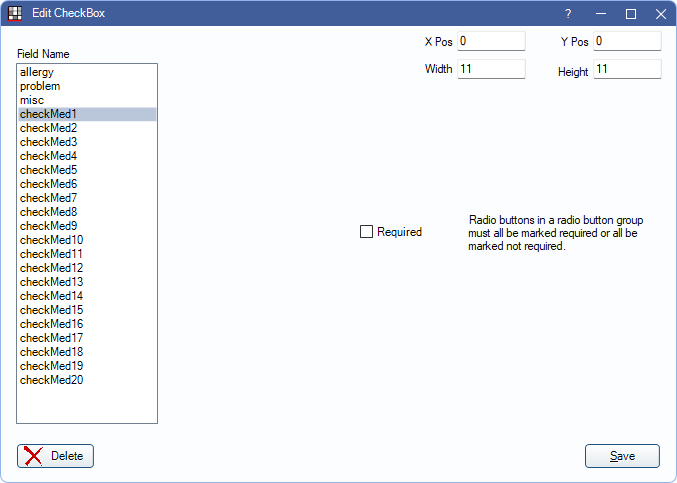
- Click on the checkMed# field that corresponds to an inputMed# field (e.g., checkMed1 corresponds to inputMed1).
- Click Save.
Importing: When a user imports medications into the database, medications manually typed in by the patient are always treated as new medications, regardless if the checkbox is marked.
Allergies and Problems
Checkboxes can be used as Yes/No indicators for allergies and problems. If allergies or problems are already entered in a patient's record, the checkbox is automatically marked on the Medical History form when adding a new form to the patient.
To add a problem or allergy checkbox:
- On the Edit Sheet Def window, click Check Box.
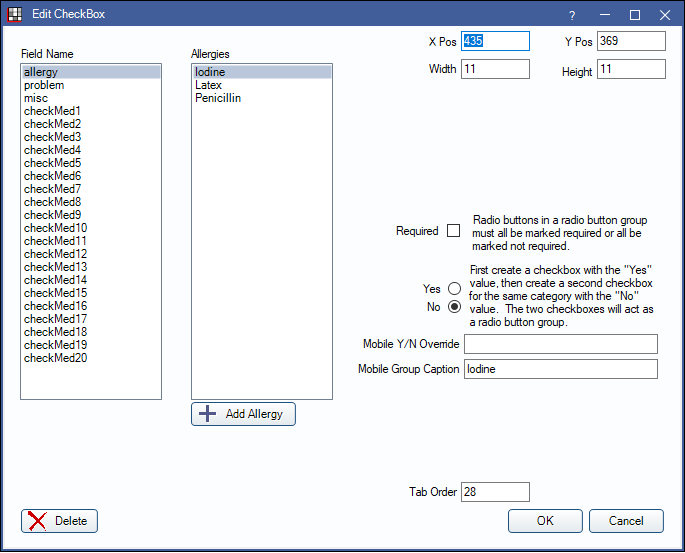
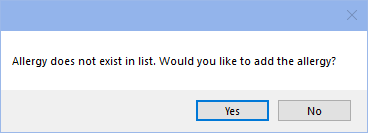
- Select the allergy or problem field name. The Allergies or Problems list displays items entered in the master Allergy List and Problem List. If a user is editing a Checkbox linked to an Allergy or Problem missing from the master lists, a prompt displays to add them. Click Yes to create the new Allergy or Problem.
- Click on the allergy or problem this checkbox applies to. Click the Add Allergy/Add Problem button to add new items to the master lists of each. See Allergy List and Problem List for details on adding each.
- On the right, select whether the checkbox indicates Yes or No. Users can create all yes boxes, or, typically, create both a yes and a no box for each Allergy or Problem, and they are linked together. This causes them to toggle as a radio button, meaning there can be only a Yes or No answer, not both.
- If utilizing the mobile layout, enter a Mobile Group Caption. This is required.
- Click OK.
- Add a Static Text field next to the checkbox to label it.
Troubleshooting
I've renamed a Problem or Allergy in my master list; do I need to do anything on my sheets?
If a problem or allergy is renamed in the master Allergies or Problems lists, ensure all Medical History sheets that use the allergy or problem are updated.- Open the Medical History sheet where the allergy or problem is used.
- Double-click on the pertinent check boxes.
- Select the new allergy or problem to update it on on the sheet.
- Repeat the steps for each Medical History sheet the allergy or problem is used.
My patient marked yes for a problem or allergy that is in the Problems or Allergies list, but there is no option to import.
The spelling in the Problems or Allergies List does not match the spelling on the sheet. If spelling is inconsistent, then importing will not work properly. Correct the spelling on either the sheet or the master list to allow for importing. The problem or allergy can also be added manually. See Problems and Allergies.