

Recall List - Reactivations
The reactivation list is used to track contact attempts for inactive patients.
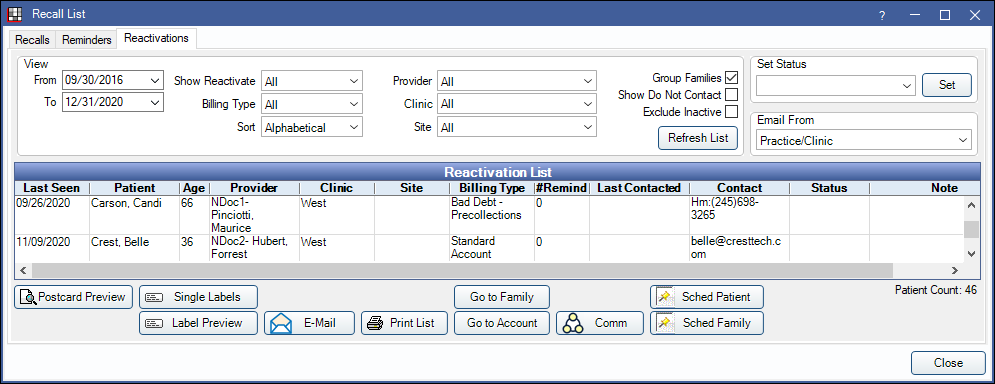
In the Recall List, select the Reactivations tab.
To show the Reactivation List, an office must first do the following:
- Enable Reactivation in Show Features.
- Create a REACT commlog type in Definitions: Commlog Types.
- Set preferred statuses in Setup Reactivation.
View
These settings determine how to filter the patients that appear on list.
From: Enter date before which unseen patients will not be included in reactivation list. Must be a date prior to the To date. Together these settings creates a range of potential patients to consider. Useful for offices with long histories and don't want to sift through patients that have not been in for many years.
To: Enter the date since last seen. Returns a list of patients who were last seen before the date entered and have not had a completed procedure since.
Show Reactivate: Select number of contact attempts.
Sort: Sort by:
- Last Contacted
- Billing Type
- Alphabetical
Billing Type: Filter by patients billing type.
Provider: Patients primary provider.
Clinic: Filter for the selected clinic.
Site: Filter for the selected site.
Group Families: Group family members together on the list.
When checked:
- If a patient's Preferred Recall Method is set to Email, the guarantor's email address is displayed. The guarantor's email address is used when sending emails.
- The guarantor's address is used when generating postcards or labels for multiple family members,
Show "Do Not Contact": Show patients who are marked as Do Not Contact.
Exclude "Inactive": Filter out any patients who are marked with the Inactive status.
Click Refresh List for filters to take affect.
Set Status: Set the status for all selected patients.
Email From: Select the email address to send from.
Reactivation List
Patients must meet the following to show:
- Patient must have had at least one completed procedure in the past.
- Patient cannot have any future scheduled appointments.
- Patient has not been contacted (REACT commlog type) within the time period set on the Reactivation Settings.
- Patient has not been contacted (REACT commlog type) more than the maximum number of allowed attempts as set in the Reactivation Settings.
- Patient has not been marked as "Do Not Contact"
Right-click on a patient to see the Family Module or Account Module.
Double-click on a patient to view reactivation information. 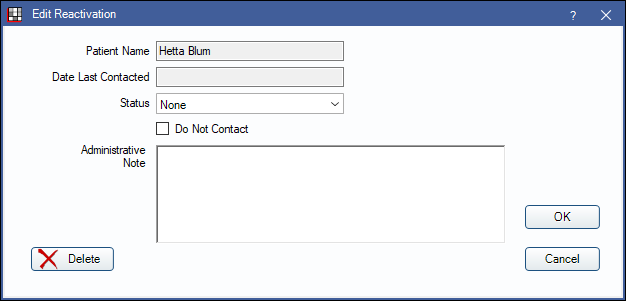
Status: Manually change reactivation status.
Do Not Contact: Check this box to mark patient as Do Not Contact.
Administrative Note: Any notes pertaining to the patient that may be useful for office staff.
Options
From the main Reactivation List, highlight the the patients to contact, then select from the options below.
Postcard Preview: Preview postcards to send to the selected patients.
Single Labels: Print a single label for each selected patient to the default printer for Labels - Single.
Label Preview: Generate and preview a standard sheet of 30 labels for selected patients. Click Print to print to the default printer for Labels - Sheet.
E-Mail: Email the selected patients.
Print List: Print the entire Reactivation List.
Go to Family: Select a patient and go to the Family Module.
Go to Account: Select a patient and go to the Account Module.
Comm: Create a commlog for each selected patient.
Sched Patient: Schedule the selected patient.
Sched Family: Schedule all related family members.