

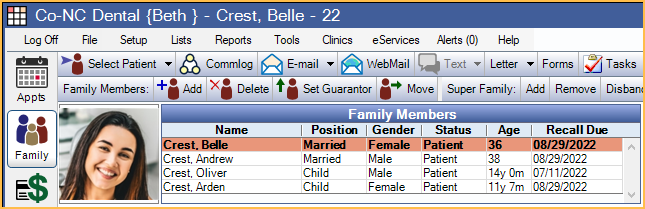
Patient Picture
In the Family Module, at the upper left, is the Patient Picture.
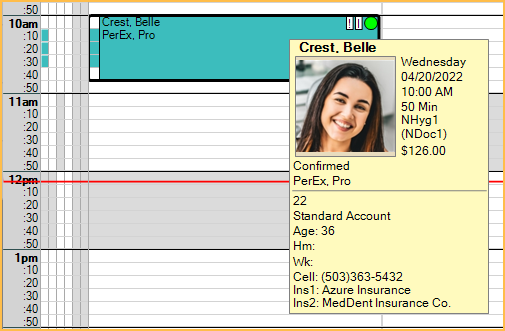
Optionally, it also displays when hovering over an appointment in the Appointments Module.
Add a Patient Picture
The category marked as Patient Pictures usage in Definitions: Image Categories should be used to store patient pictures. By default, this is the Patient Pictures category of the Imaging Module. The most recent image in this category is used as the patient picture.
Take a Picture
To take the patient's picture, use a webcam or digital camera, then save the image in an appropriate file format (JPG, GIF, or PNG).
Webcams can be used in Open Dental to take a patient photo using Video Capture. An active registration key or trial version is required.
Alternatively, if a webcam has a TWAIN driver is installed, users can take a patient picture using the scan button. The scan button does not support a live feed so users are not able to view the image before it is taken. If there are no other scanners, the webcam can be set as the default scanner, otherwise users should enable Show Select Scanner Window in Imaging Quality to select the webcam when clicking the scan button.
Import a Picture
If the picture is not taken directly in Open Dental (e.g., saved elsewhere on the computer), users have two options to import the picture.
Option 1:
- Select the image category marked for Patient Pictures usage.
- Click Import.
- Select the image to import and click OK.
- Enter any image details (e.g., name, date, etc).
- Click OK.
Option 2:
- Locate the picture in the File Explorer.
- Drag and drop the file into the Imaging Module category marked for Patient Pictures usage.
- Enter any image details (e.g., name, date, etc).
- Click OK
Remove a Patient Picture
To permanently remove a picture, in the Imaging Module, right-click the image file and select Delete.
To add or remove the patient picture from the Appointment Bubble:
- In the Main Menu, click Setup, Display Fields.
- Double-click on Appointment Bubble.
- Move the Patient Picture field to or from the Fields Showing list.