Email Message Edit
Emails can be sent to patients directly from the Open Dental program.
In the Main Toolbar, click Email.
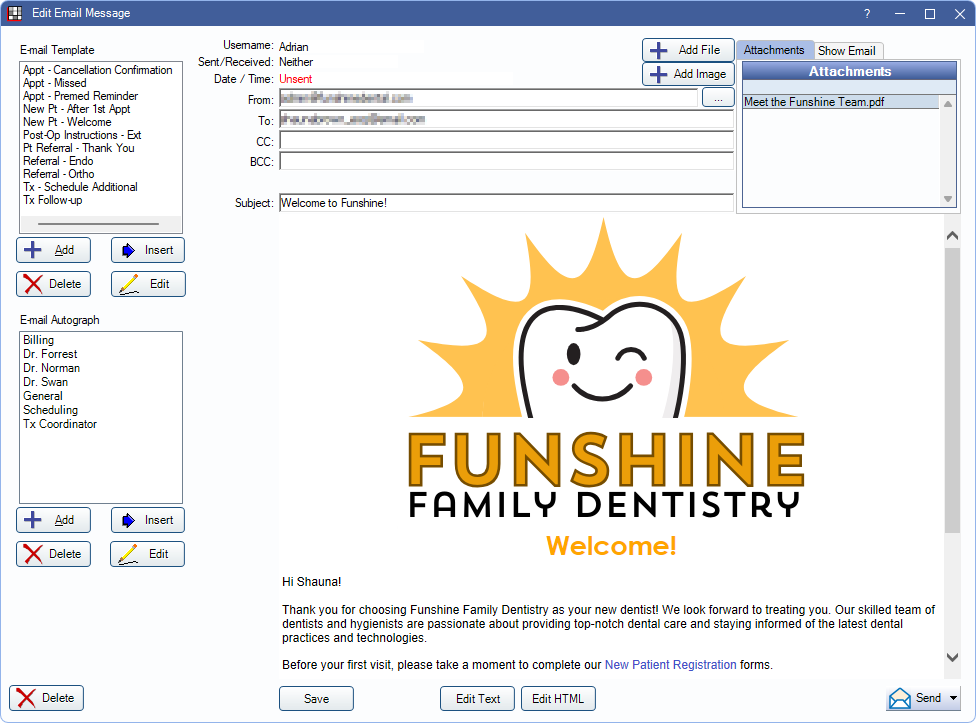
Alternatively:
- Click the Email dropdown and select a referral source to send an email to a referral attached to the selected patient. Emails can also be generated and sent in various other parts of Open Dental.
- Double-click an email in a Commlog or Progress Notes area to edit an existing email.
- Double-click an email from the Inbox or Sent tabs in the Email Client or click Compose.
For sent or received emails, only Show Email options (see below) can be edited. Some areas (e.g., Templates, Autographs) and options (e.g., Edit Text, Send) may be hidden.
Edit Template
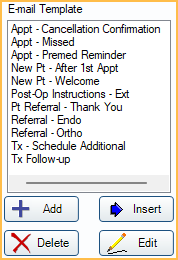
To insert Email Templates, select it and click Insert. The template's subject and message will replace any existing text (including autographs) and associated attachments will be added.
Email Autograph
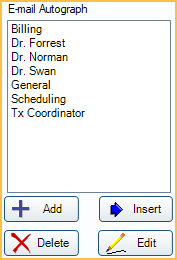
Select an E-mail Autograph from the list and click Insert to add it to the end of the email. Plain Text Autographs are inserted automatically. Autographs with HTML formatting can only be added via the Email HTML Edit window.
If the From email address is associated to a Plain Text Autograph, it is added to the email automatically. If the From email address is associated with an HTML Autograph, the Autograph will be appended to the email when sending.
Email Addresses

- Username: For unsent emails, displays the currently logged-in Open Dental user. For sent emails, this is the user that sent the email.
- Sent/Received: Displays if the email was sent or received. When sending, the window is in compose mode and this status will be Neither
- Date/Time: The date and time of the sent or received email. When sending, this will display as Unsent.
- From: The email address used to send the email. The default address used differs depending on how the email is generated.
- Click [...] to open all email address options for this user and change the From address.
- Double-click an address or highlight and click OK to replace the current From address.
- Alternatively, type an email address and alias manually (e.g., If bob@gmail.com is selected in the dropdown, and Sparkly Dental <bob@gmail.com> is entered, the recipient will see Sparkly Dental instead of bob@gmail.com).

- When clicking the Email button:
- If the logged-on user has a user email set up, this is the default.
- If the logged-on user does not have a user email set up and Clinics are enabled, the default email address for the patient's assigned Clinic, in Clinic Edit, is used.
- If the logged-on user does not have a user email set up and Clinics are not enabled (or the patient's assigned Clinic has no default email address), the Default email address in Email Setup is used.
- When generating a referral email from the Email dropdown, the default email address for the patient's assigned Clinic is used by default. If Clinics are not enabled (or the patient's assigned Clinic has no default email address), the Default email address in Email Setup is used.
- Click [...] to open all email address options for this user and change the From address.
- To: Defaults to the patient's email address on file. When starting to type a new email address, a contact list populates with email addresses of previous recipients. Select from the list or continue typing the address. If multiple addresses are entered, all recipients can view and reply to other recipients on the email.
- CC: Enter email addresses that will receive a copy of the message. Blank by default. Cannot be used with Secure Email.
- BCC: Enter email addresses that will be sent a copy of the message, but who will not show as a recipient on any other recipient's email copy. Blank by default. Cannot be used with Secure Email.
- Signed By: Obsolete. Previously used for Encrypted Email. See Digital Signatures below.
Attachments
Attach files or images to the email.
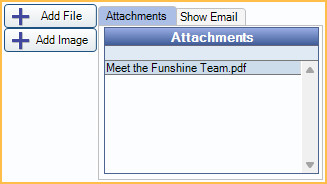
Add File: Choose a file from the computer or network to attach to the email. File Explorer opens to locate and select the file.
- If images and documents are stored in a local or network folder (see Data Paths Setup), a list of all images in the selected patient's A to Z Folder (i.e., OpenDentImages) on the local or network folder is displayed first.
- If images and documents are stored in Dropbox, a Select Files window opens listing all images in the selected patient's Dropbox A to Z folder.
Add Image: Choose an attachment to add from the Imaging Module for the patient. Select Image opens to locate and select an attachment. Not available when a message is not attached to a patient (e.g., using Compose in the Email Client).
- If adjustments or edits have been made to an image from the Imaging Module, these are reflected in the attached file. Only image file types or PDFs can be attached.
- To attach other file types (e.g., Text, XLS, etc.), use Add File instead.
Once attachments are added, they are listed in the Attachments area. Double-click an attachment to open it.
Right-Click Options:
- Open: Open the selected attachment.
- Rename: Rename the selected attachment.
- Remove: Remove the selected attachment from the email.
Show Email
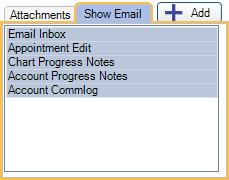
Select where in Open Dental an individual email will show or not show. To show the email in an area, highlight it. To hide the email in the area, deselect it. By default, all areas are selected.
- Email Inbox
- Appointment Edit: Edit Appointment, Communications Log area. Only displays emails sent from eConfirmations and eReminders.
- Chart Progress Notes: Chart Module, Progress Notes
- Account Progress Notes: Account Module, Progress Notes
- Account Comm Log: Account module, Communications Log area
To view emails that have been hidden in all areas, go to the Email Client and check Show Hidden Emails.
Subject and Body
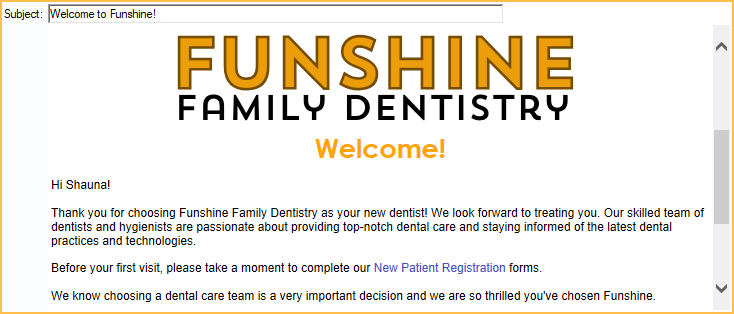
- Subject: The subject of the email message.
- Body: The message text. If an Email Autograph is associated with the From address, it is inserted by default. If the autograph is associated to multiple email addresses, the autograph listed first is inserted. This text box supports Right-Click Options.
Buttons
- Delete: Click to remove an email from Open Dental. Sent emails remain on the mail server, but are not downloaded again. Sent emails attached to a patient, once deleted, are removed from the Sent tab in the Email Client, but still visible in the Commlog and Progress Notes. Emails not attached to a patient are permanently removed.
- Raw Message: Only displays for downloaded emails. Informational only.
- Save: Keep changes to an unsent email and keep as a draft or keep changes to the Show Email tab on a sent email. Unsent emails are attached to a patient and display in the Chart Module and Commlog. If Open Dental shuts down unexpectedly, emails that are in progress are automatically saved.
- Refresh: Only displays for downloaded emails. Refresh the window.
- Edit Text: Edit the message using basic plain text.
- Edit HTML: Edit the message using HTML coding (for images, fonts, etc.) See HTML Email for more information.Note: If the message has been edited using Edit HTML, clicking Edit Text switches the email to plain-text formatting. The HTML tags are not stripped from the message automatically and must be deleted before sending.
- There are three options for sending an email. The default button may change, depending on setup. Click the dropdown to see additional options.
- Send: Send a regular, unencrypted, email. This option is the default if Secure Email is not enabled.
- Send Secure: Send using Secure Email. This option is the default if Secure Email is enabled. See Secure Email Setup.
- Direct Messaging: Obsolete. Was used for Email Encryption Options.
Digital Signatures
If the Sig button or Signed By field displays, this email was sent using Encrypted Email. Click Sig to view signature details. This feature is now obsolete.

