

Mount Definitions
A mount is a collage of multiple images or radiographs that can be viewed together.
In the Main Menu click Setup, Imaging, Mounts.
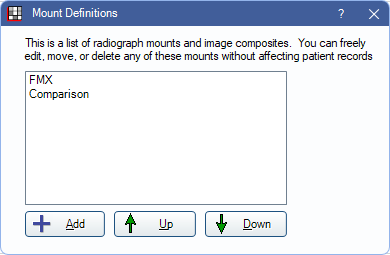
Mount Definitions (Mount Defs) that are created here are templates. They are available in the top toolbar of the Imaging Module. Once a user picks a Mount Def from that toolbar, a new Mount is created for that patient with a layout based on the Mount Def template.
- Add: Click to create a new Mount Def.
- Up/Down: Highlight a mount, then click to re-order it in the list.
- Double-click an existing Mount Def to edit.
Generate Mount
If adding a new Mount Def, the user starts by generating a layout from one of the built-in templates. These serve most purposes or can be a starting point for a similar Mount Def.
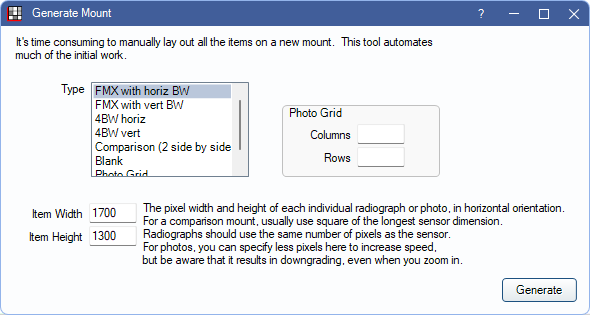
- Type: Select the type of mount from the list. Each type is a different layout. Find the layout that most closely resembles the desired layout.
- Item Width/Height: The width and height of one image.
- Photo Grid: Use when Photo Grid is selected as the type.
- Columns/Rows: Enter the number of columns and rows desired for the photo grid.
- Generate: Click to create the Mount Def and make edits.
Edit Mount Def
Double-click an existing mount from the Mount Definitions list or click Generate from the Generate Mount window to open Edit Mount Def.
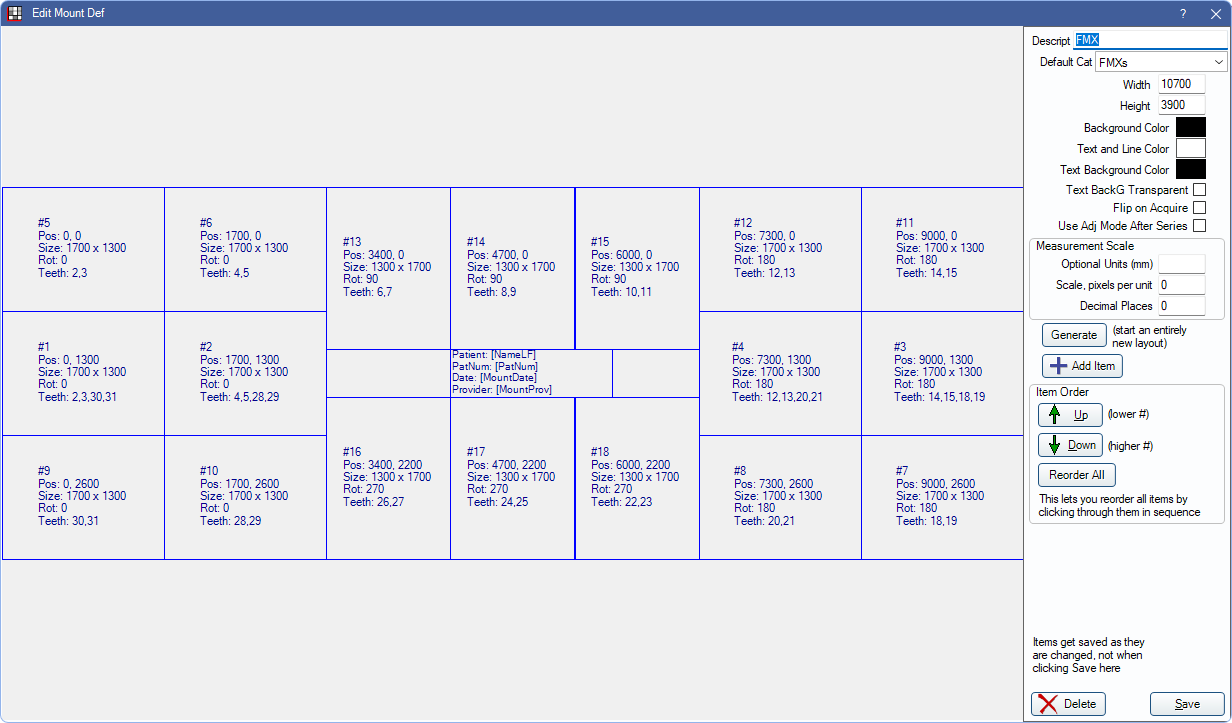
- Description: Enter a name for the Mount Def.
- Default Cat: Set the default Image Category to place the mount in.
- Width/Height: The overall size of the the Mount Def.
- Background Color: The background color used when generating the mount in the Imaging Module.
- Text and Line Color: The default color used for text and lines on this mount.
- Text Background Color: The default background color for text on this mount.
- Text BackG Transparent: Check to disable text background color. Text background is transparent.
- Flip on Acquire: Check to automatically flip images horizontally when acquired using this mount.
- Use Adj Mode After Series: Check to automatically enable adjust mode in the Imaging Module, instead of pan mode, after acquiring using this mount.
- Measurement Scale: The scale when measuring lines on this mount. See Calibrating Scale on Draw for details.
- Optional Units (mm): Enter the optional units to display on measurements. Typically mm.
- Scale, pixels per unit: Enter the scale for this mount. All images using this mount have the same scale as all images taken with the same machine.
- Decimal Places: The decimal places to count to when measuring lines on this mount.
- Generate: Generate a new mount to replace the one currently selected. Erases the current layout.
- Add Item: Click to add a new image item.
- Item Order: Determine the item order.
- Up/Down: Highlight an item, then click the arrows to re-order the layout.
- Reorder All: Click to set the order number to 0 for all items, then click each item in the desired order. Once complete, click Stop to save changes.
Highlight an item, then click and drag to move it, or use the arrows on the keyboard.
Delete: Remove this mount from the Mount Definitions list.
Item Edit
Double-click an item on the template to edit the size and information. 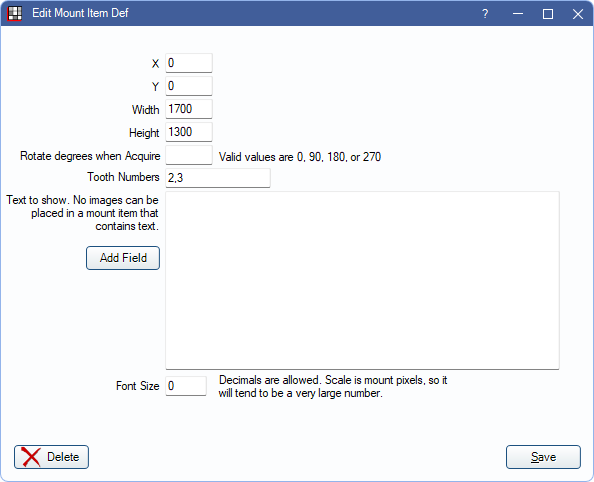
- X/Y: Enter the horizontal (X) and vertical (Y) positions on the template.
- Width/Height: Enter the size of the item.
- Rotate degrees when Acquire: The number of degrees to rotate the item when using the Acquire button in the Imaging Module.
- Tooth Numbers: The typical tooth numbers associated with this item.
- Text to Show: Enter text to display on the mount. Fields used for text cannot have images placed over them.
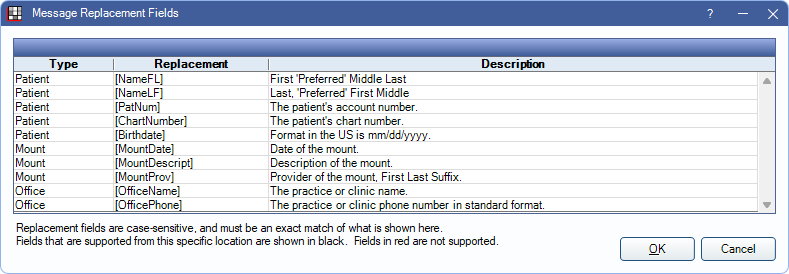
- Add Field: Enter a replacement field (e.g., Patient name, birthdate, etc.)
- Font Size: Font size for the text to display. Font size is in pixels, enter a large number to view.