

Mail Merge in Word
These steps are provided as a courtesy as an alternative to Letter or Sheets.
- Open Dental support technicians do not assist with Microsoft Mail Merges. We cannot walk users through these steps as it is not an Open Dental skill, but rather a Microsoft Office skill.
- The steps below are specific to Word version 1911. Please see Microsoft Support for additional information or other versions. Other programs, such as Excel or Open Office, can also perform a Mail Merge, but the steps are different.
- Similar steps can be taken to do an email merge, which can be used to send mass emails.
If using Word and a mail merge is needed, there are a couple different choices. For a single letter, see Letter Merge. If merging letters for multiple patients, either do a query and export the result, or link directly to the database.
Query Export
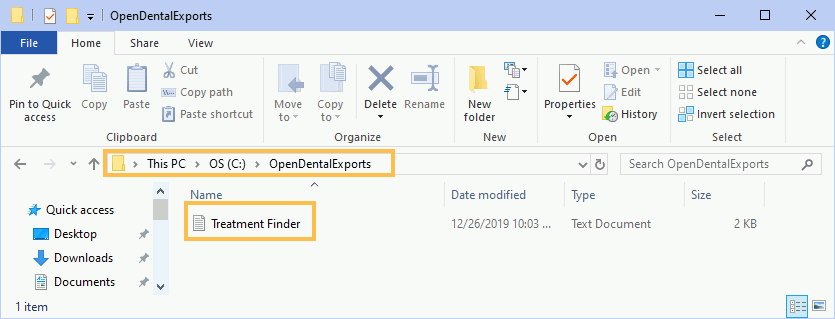
- In Open Dental, run the report for the data needed. Click Export and select the file location. The default is C:\OpenDentalExports. Note: For a list of patients with upcoming appointments and contact details, see Query 1505.
- The report is saved as a text document.
The first row of the text file contains the names of the columns, and the fields are separated by tabs.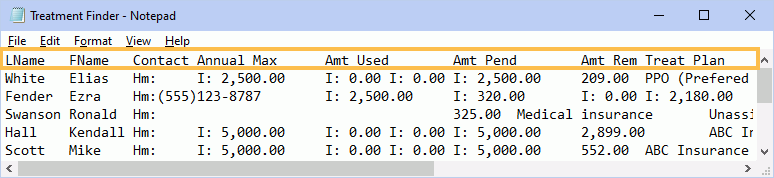
- Open Word. Open an existing letter template, or a blank document.
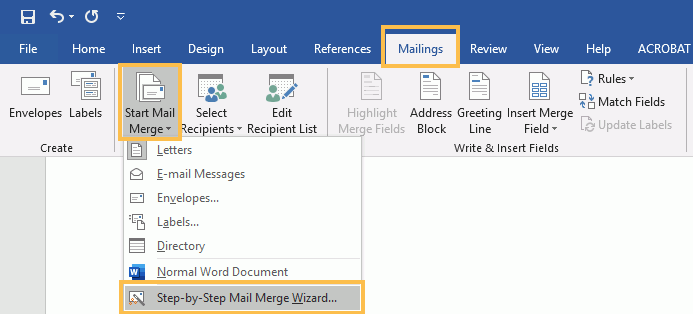
- Select the Mailings tab.
- If mailing letters, click the Start Mail Merge dropdown, then Step-by-Step Mail Merge Wizard
If emailing a letter, click the E-Mail Messages dropdown, then Step-by-Step Mail Merge Wizard.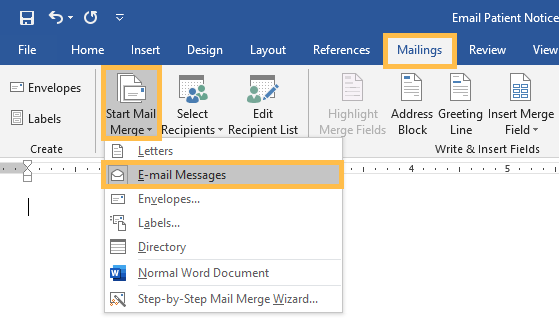
- The Mail Merge Wizard goes through creating the letter step-by-step. See the Word manual for more information.
Emailing letters from Word uses the email setup from Outlook. This can also be done using Thunderbird. There is no confirmation that emails have been sent.
Direct Link
Another way to use the data is to directly link to the database. This is normally not needed since the text export is simpler, but here are instructions in case it's needed.
Be sure to set up the ODBC Connection first. See ODBC.
- Open ODBC Data Sources on the computer to access the data.
- Open a blank Word document and go to the Mailings tab.
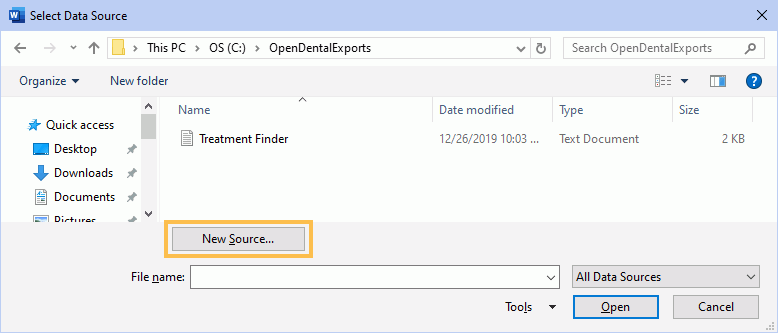
- Use the Select Recipients dropdown and select Use an Existing List. This opens the Select Data Source window.
- Click New Source.
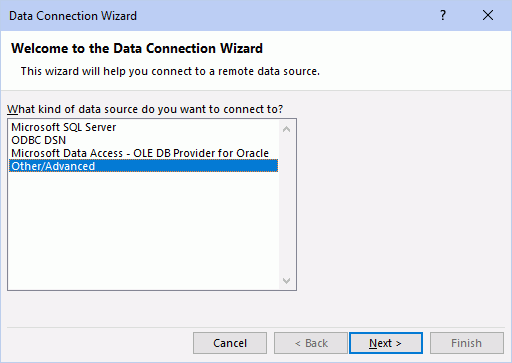
- Select Other/Advanced and click Next.
- Select the Connection tab.
- Select OpenDental from the data source list and enter the MySQL username and password.
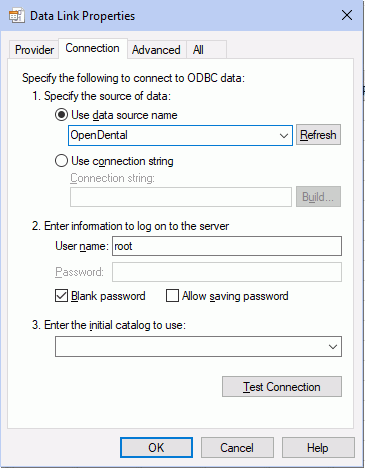 Note:
Note:- If not using a MySQL password, check Blank Password.
- Click Test Connection to verify a good connection.
- Select the table wanted from the list and then select the new data source created.
This creates a list which can be filtered, sorted, and selected from, just as in the text import section.