Help

Search
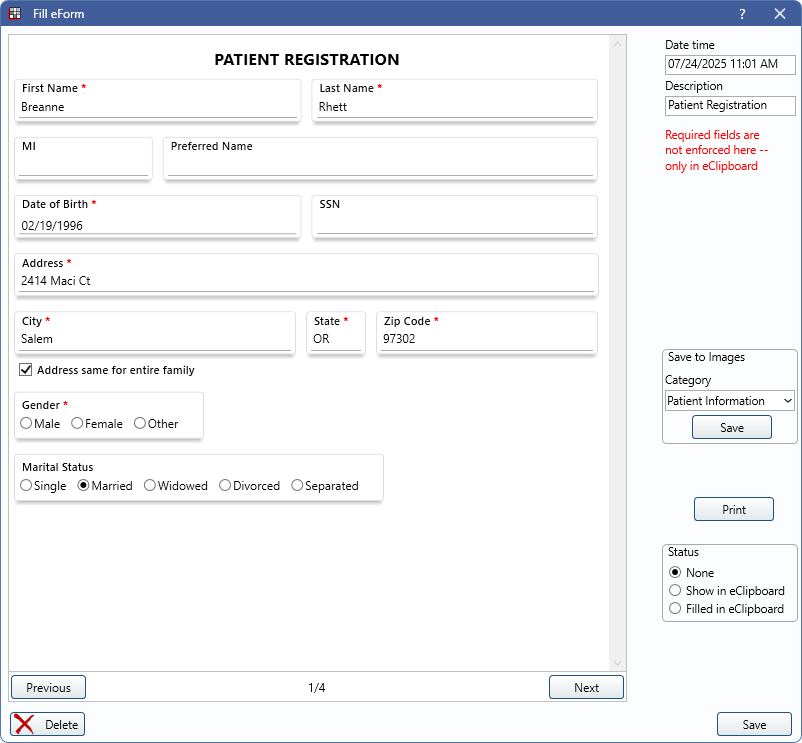
Fill eForm
eForms can be viewed, edited, or filled from the Fill eForm window.
In Patient Forms double-click an existing eForm to edit.
Alternatively, in Patient Forms, click Add eForm, then select a form to edit.
The right-hand panel gives various details about the form.
- Date time: Defaults to the date and time the eForm was generated.
- Description: Defaults to the eForm description set in eForm Def Properties.
- Unlock Sig: Unlock a signed signature box to make changes.
- Save to Images: Only displays when an eForm has a category selected for Save to Image Cat in eForm Def Properties. Save this eForm to the Imaging Module.
- Category: Defaults to the category set for the eForm. Use the dropdown menu to change the Image Category as needed.
- Save: Click to save this eForm to the Imaging Module.
- Print: Print the form as it appears on the screen. Printing is not recommended for eForms as they are not optimized for printed use.
- Status: Displays the status of the eForm. Status can be changed as needed.
- None: This status is used if no other statuses apply.
- Show in eClipboard: The form is queued to send to the eClipboard device. When selected, an X displays in the Patient Forms window.
- Filled in eClipboard: The form was filled out using eClipboard.
Filling Forms
Forms can be filled in this window (e.g., office staff making changes), or sent to an eClipboard device or queued in eClipboard Web for a patient to fill.
When filled in this window, required fields are not enforced.